Tarts and pastries are the jewels of the dessert world. Whether you’re making a buttery fruit tart, a decadent chocolate pastry, or a classic French mille-feuille, the art of creating the perfect tart or pastry lies in technique, attention to detail, and understanding the fundamentals. While it may seem like a high-level skill reserved for professional pastry chefs, with the right tips and some practice, you can master the art of tarts and pastries in your own kitchen. In this post, we’ll share expert tips that will help you bake perfect tarts and pastries every time.
1. Choosing the Right Dough for the Job
One of the first steps in creating a perfect tart or pastry is choosing the right dough. There are different types of dough, each suited for specific recipes, and the right one can make or break your pastry.
What You Need to Know:
- Shortcrust Pastry (Pâte Brisée): This dough is rich and crumbly, ideal for sweet or savory tarts. It’s easy to make and doesn’t require too much handling. It’s perfect for fruit tarts, quiches, and pies.
- Pâte Sucrée (Sweet Pastry): This dough is sweeter and more delicate than shortcrust, making it ideal for dessert tarts like lemon tarts or chocolate tarts. It has a slightly more refined texture and holds its shape beautifully during baking.
- Puff Pastry: For pastries like mille-feuille or palmiers, puff pastry is the dough of choice. It’s made by layering dough and butter, creating thin, flaky layers that puff up during baking.
- Choux Pastry: Essential for delicate pastries like éclairs and cream puffs, choux pastry is light and airy. It is typically piped into shapes before being baked.
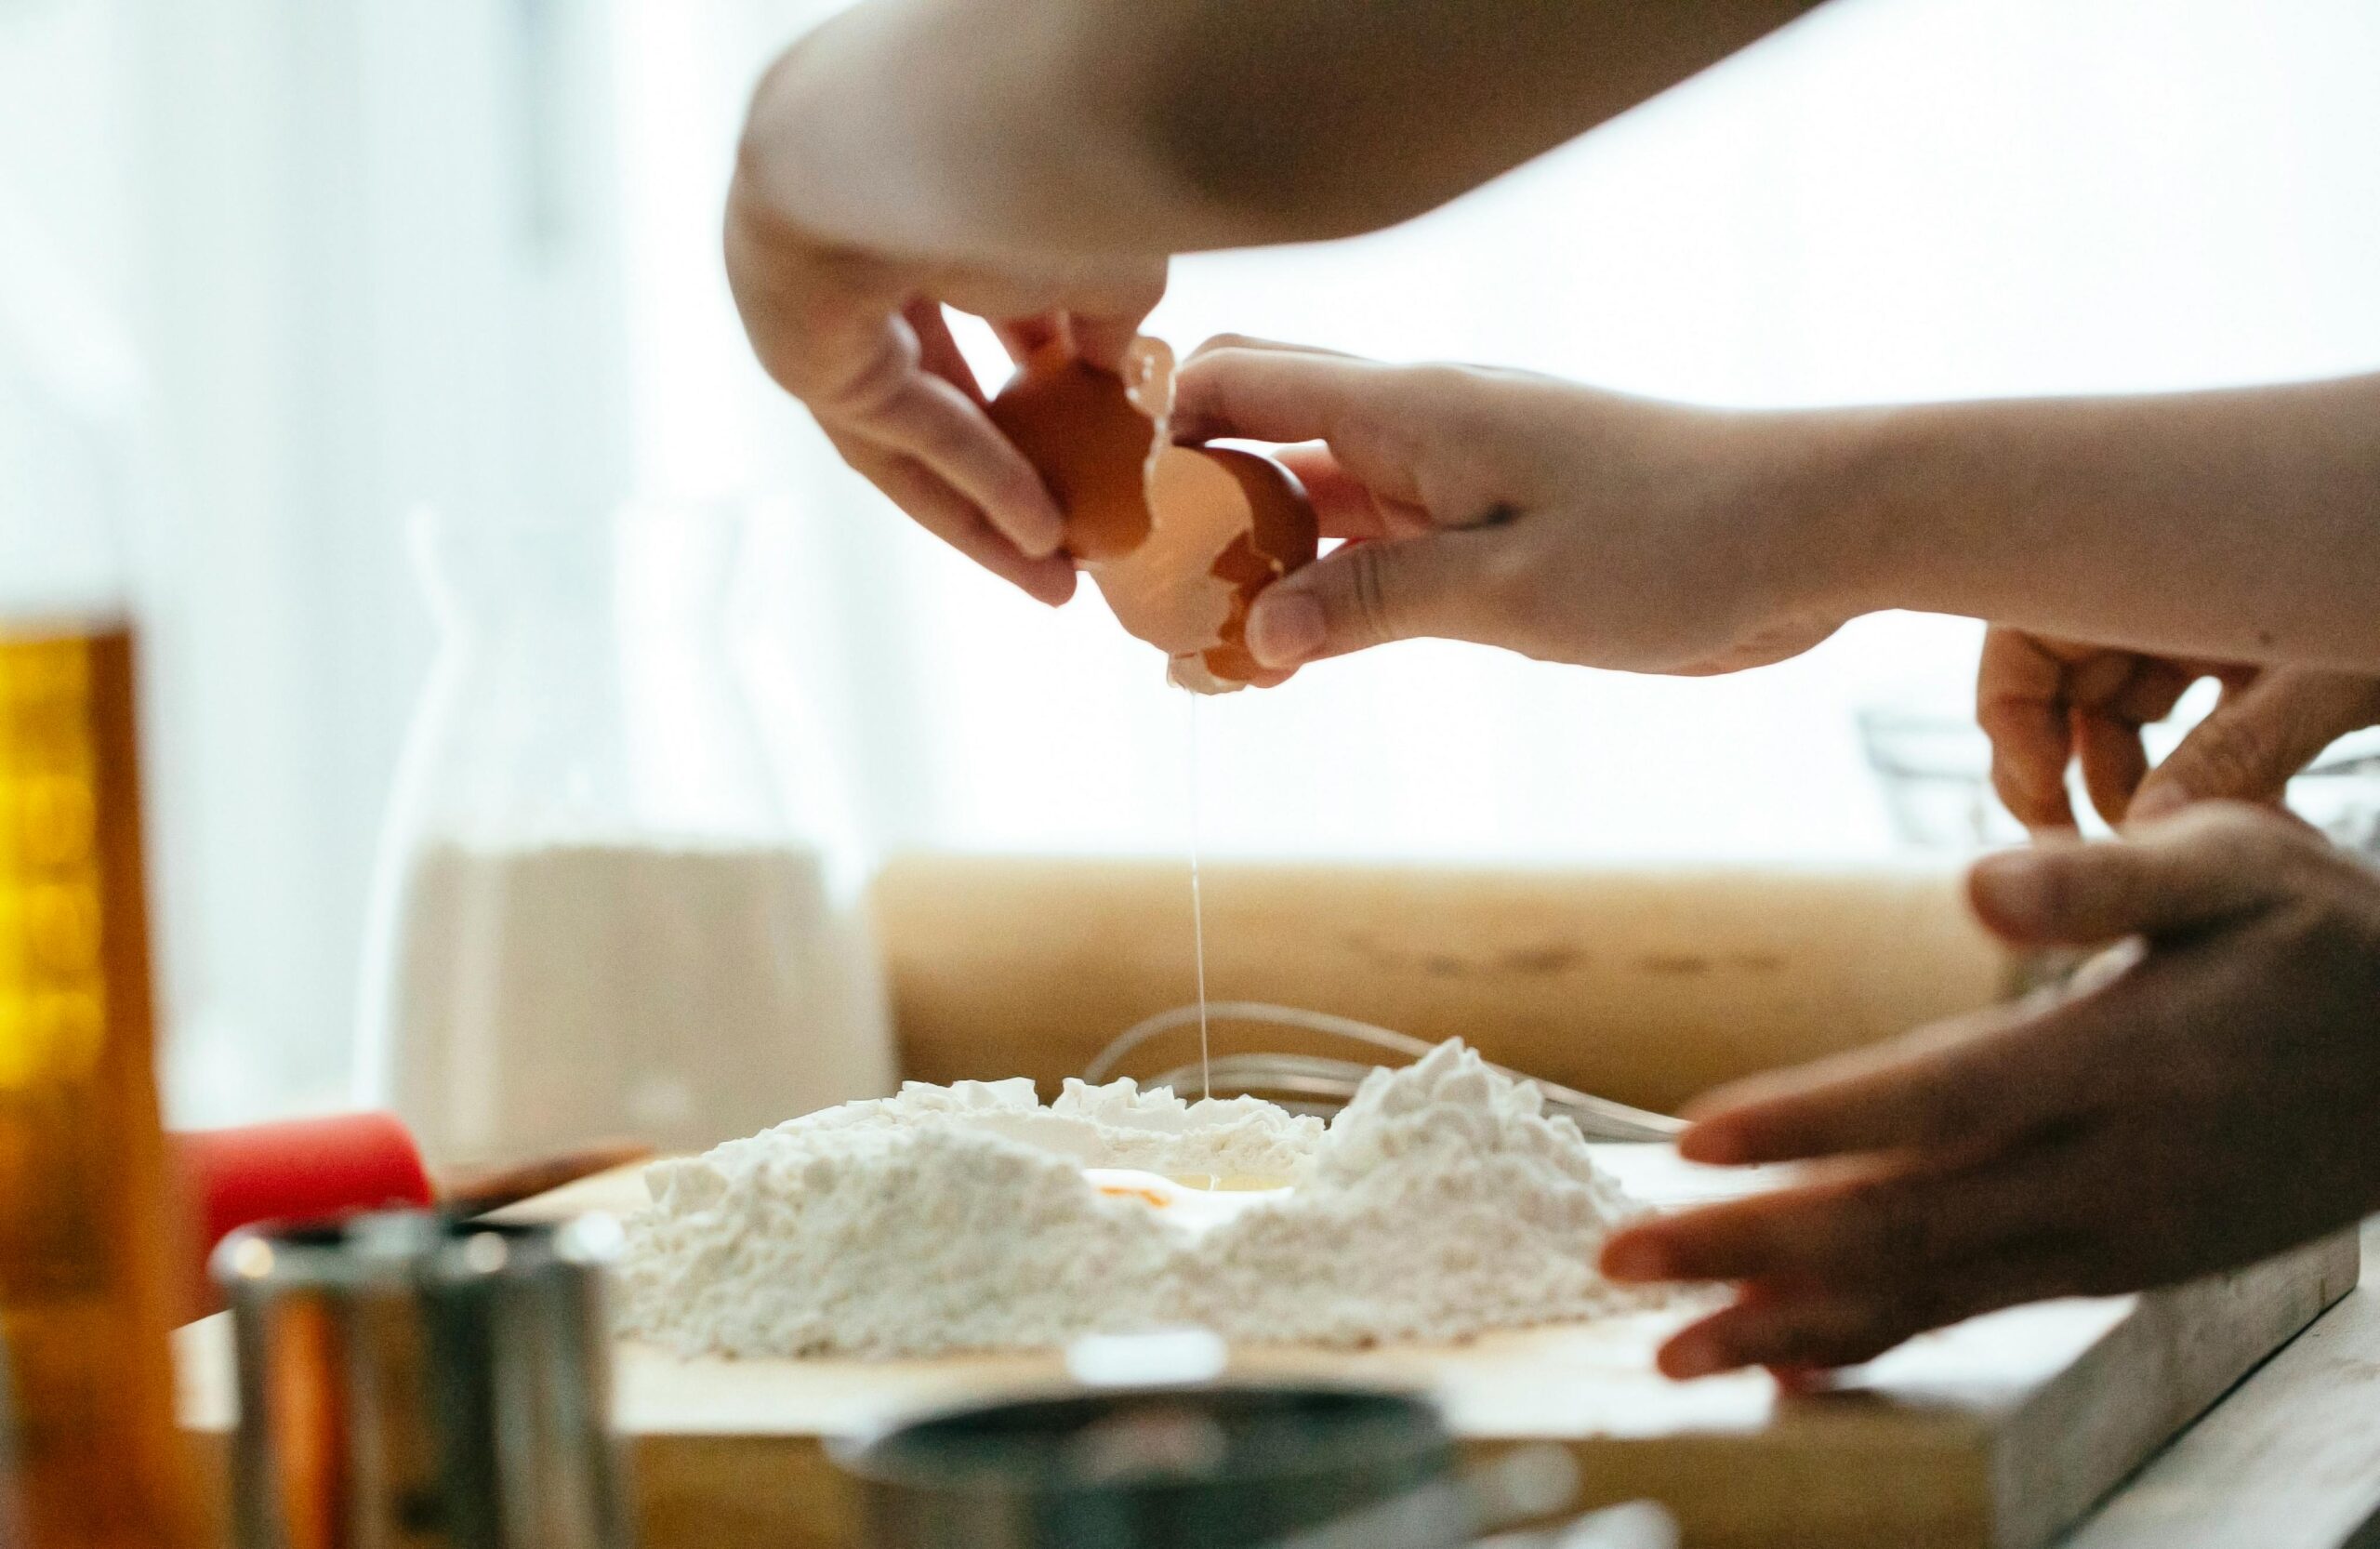
Tip: Always chill your dough for at least 30 minutes before rolling it out. This prevents it from shrinking during baking and helps maintain its texture.
2. The Importance of Blind Baking
Blind baking is the technique of baking a tart or pie crust without filling it. It is especially important when you’re making a tart with a wet filling, like a custard or cream filling. Blind baking ensures that the crust remains crisp and flaky rather than soggy.
What You Need to Know:
- Prepare the crust: Roll out your dough and line your tart pan with it. Trim the excess dough, then place a sheet of parchment paper or aluminum foil on top of the crust. Fill the paper with pie weights, dried beans, or rice to keep the crust from puffing up while baking.
- Bake until golden: Place the tart shell in a preheated oven and bake at 375°F (190°C) for about 15–20 minutes, or until the edges of the crust are golden. After removing the weights and parchment, return the crust to the oven for an additional 5–10 minutes to ensure the base is crisp.
Tip: If your crust starts to shrink away from the edges, use a spoon to gently press it back into place before it cools completely.
3. Achieving the Perfect Golden Crust
A perfectly golden and crispy crust is the hallmark of a great tart or pastry. The key to getting that beautiful color lies in using an egg wash.
What You Need to Know:
- Egg Wash: An egg wash is made by whisking an egg with a little water or milk. This mixture is brushed onto the pastry before baking and gives it a rich, glossy finish.
- How to apply it: Use a pastry brush to apply a thin layer of egg wash to the top of your dough before baking. Don’t use too much, as it can make the crust soggy.
- Alternative Glaze: If you’re working with a sweet tart, you can brush the crust with a simple syrup glaze after baking for extra shine and sweetness.
Tip: For an even more polished look, sprinkle a little sugar on top of the dough after applying the egg wash before baking. This will give your tart a slight crunch and a beautiful golden hue.
4. Mastering Pastry Fillings
The filling is where creativity comes in! While you can make your own filling, the most important thing is to ensure that the filling is balanced and doesn’t overwhelm the crust. It should complement the pastry, enhancing its flavor and texture.
What You Need to Know:
- Custard and Cream Fillings: For tarts like lemon meringue or custard tarts, it’s important to cook the filling slowly and at a low temperature. Overheating can cause the eggs to curdle and the filling to become lumpy. Always strain your custard before filling the tart to remove any lumps.
- Fruit Fillings: When making fruit tarts, it’s best to pre-cook your fruit slightly, especially if they’re juicy, to prevent the crust from getting soggy. A simple fruit glaze made of apricot jam can also add a shiny finish and lock in the fruit’s natural moisture.
- Chocolate Fillings: For chocolate-based tarts, use high-quality chocolate and heavy cream to make a silky ganache. Let it set for several hours before serving to ensure it holds its shape.
Tip: Don’t overfill your tart. Leave a little space between the filling and the edge of the crust to ensure that it cooks evenly.
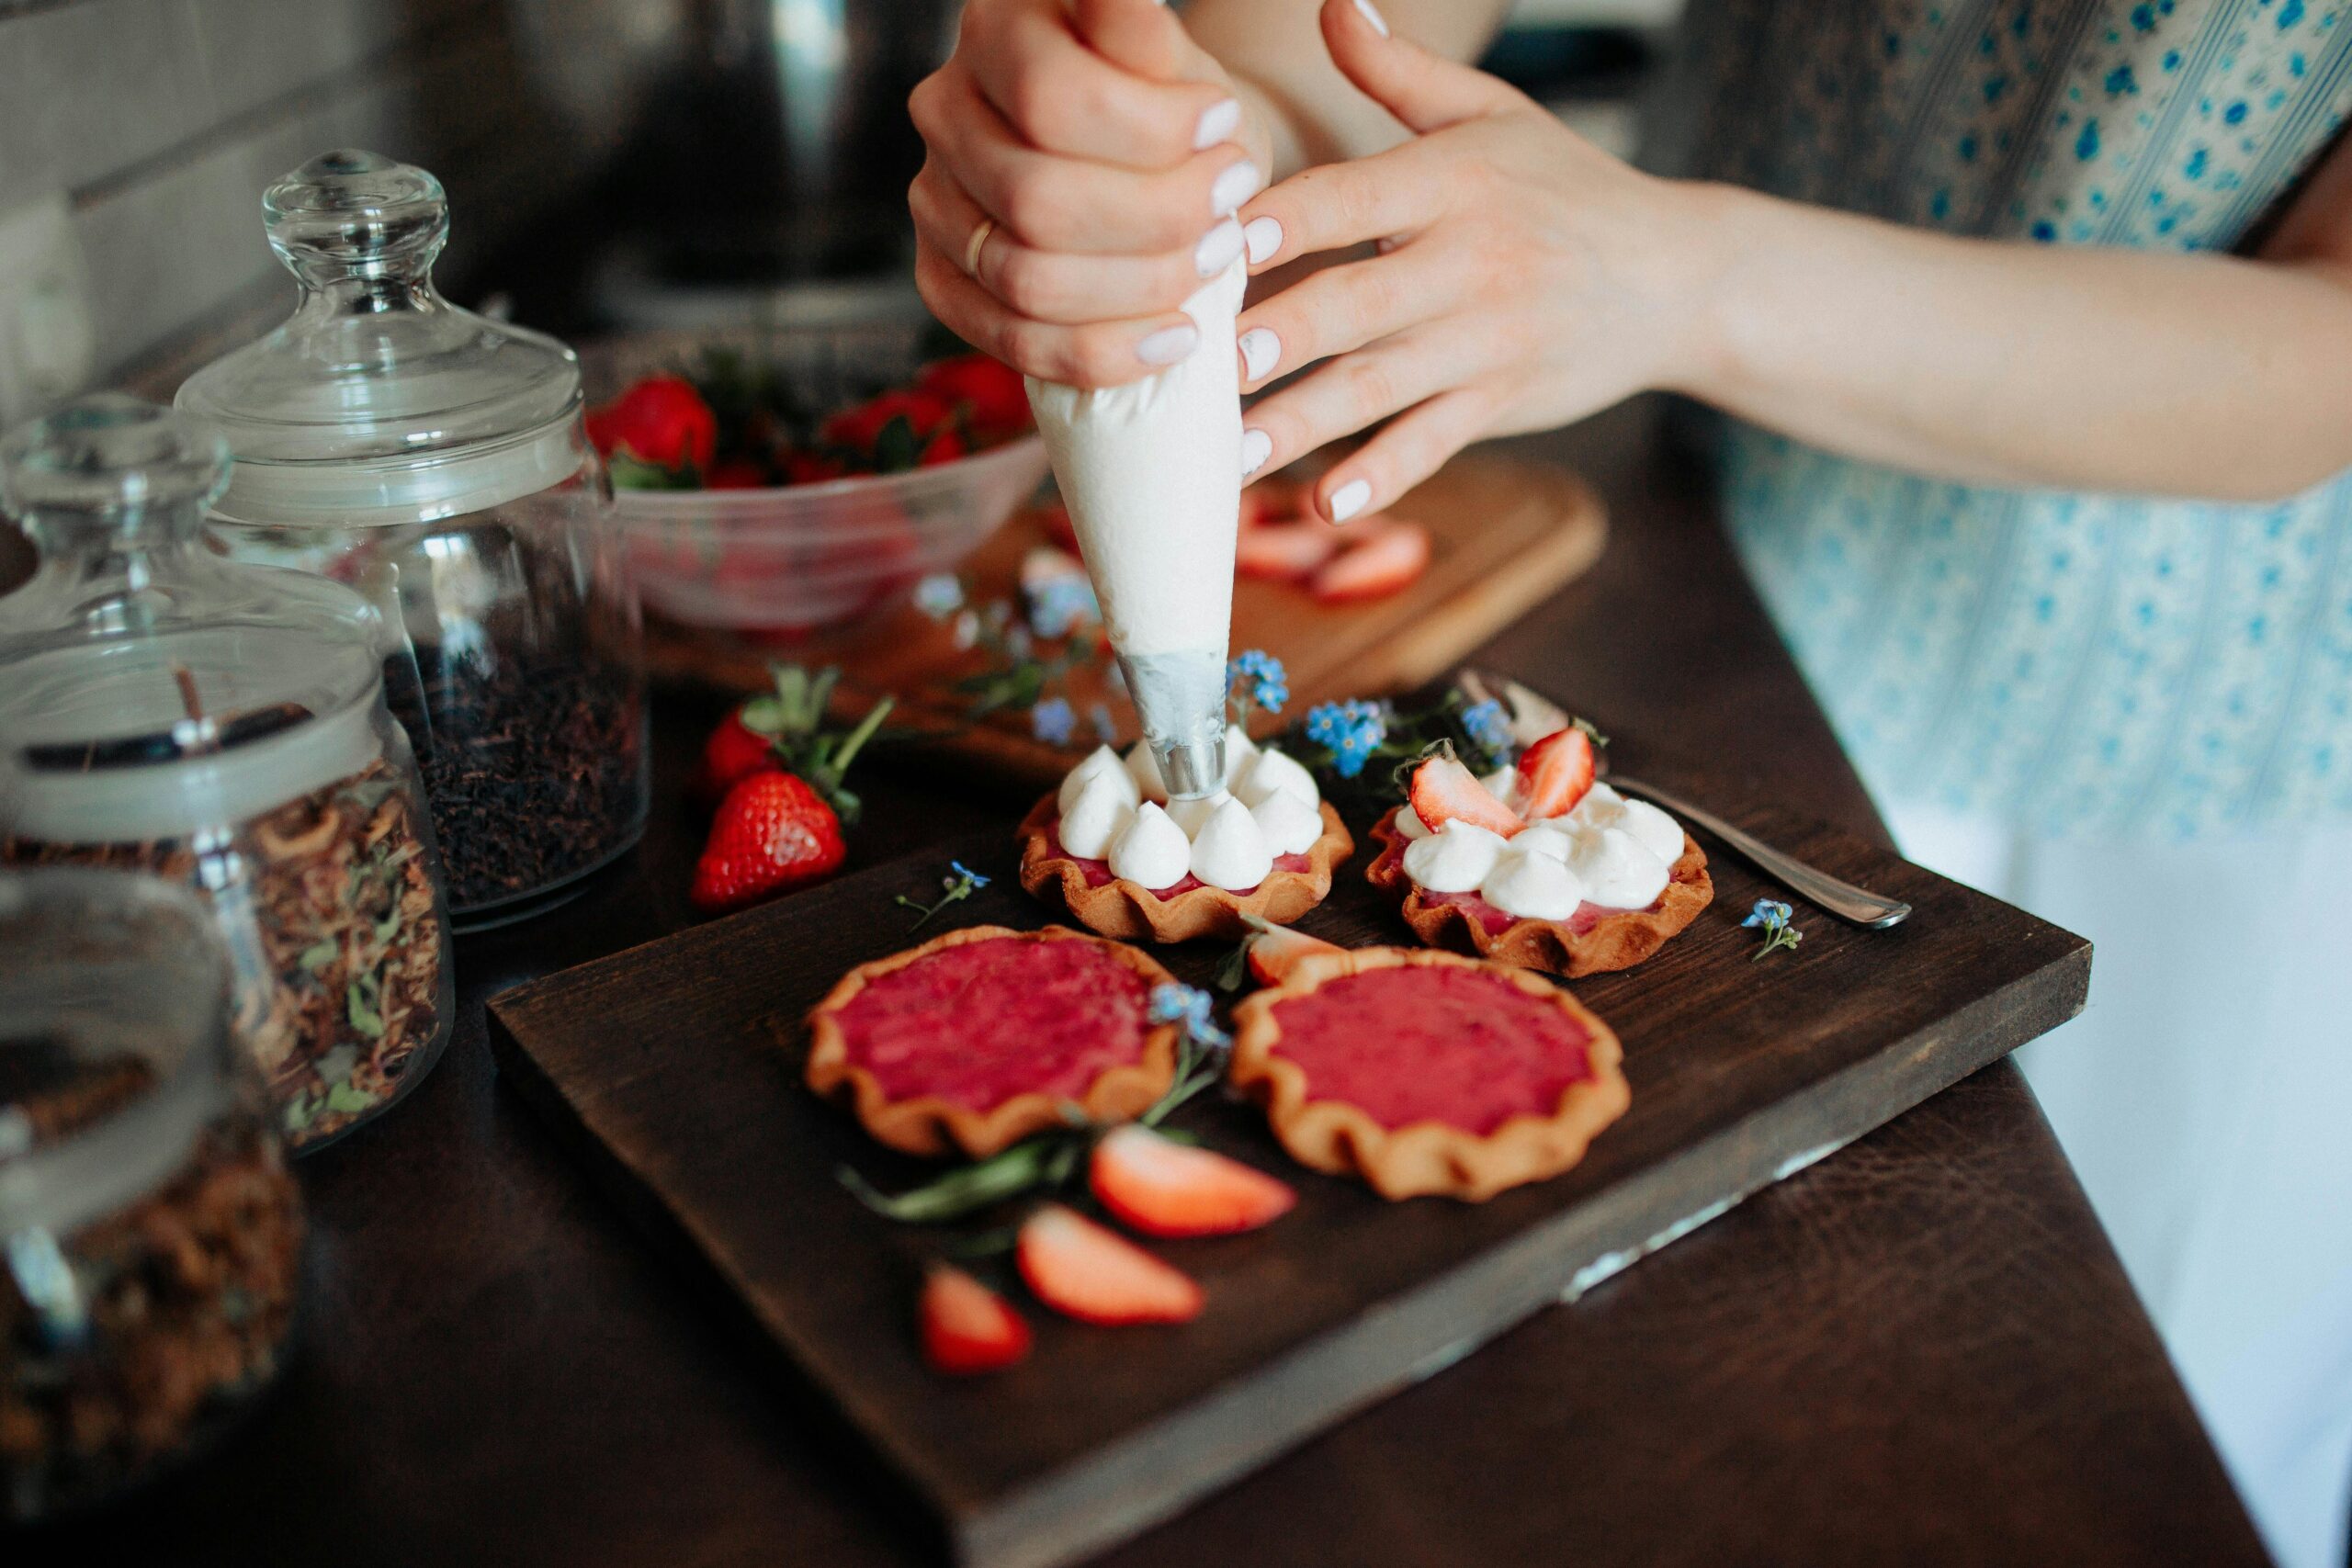
5. How to Assemble a Beautiful Tart
Presentation is everything in pastry. To elevate your tart, take time in its assembly and decoration. The little details can make a big difference in how professional your tart looks.
What You Need to Know:
- Layering: When layering fruit on top of a tart, start from the outside edge and work your way in, creating concentric circles. This ensures an even, visually appealing result.
- Garnishing: For extra flair, garnish your tarts with a dusting of powdered sugar, edible flowers, or a drizzle of chocolate or caramel. Fresh mint leaves or a few sprigs of rosemary can also add color and contrast to the tart.
- Shiny Finish: After filling the tart, you can add a layer of glossy glaze to make it look polished. A light apricot glaze or even a sugar syrup can help achieve this effect.
Tip: Use a sharp knife to cut your tarts into clean slices. Run the knife under hot water and wipe it dry between cuts to prevent smearing the filling.
6. Serving and Storing Your Pastries
After all that work, you want to make sure your tart is served and stored properly to maintain its texture and flavor.
What You Need to Know:
- Serving: Always let your tarts cool completely before serving. If you serve them too soon, the filling may be too runny or not set properly.
- Storing: Most tarts are best eaten within a day or two of making them. To store, keep your tart in an airtight container in the refrigerator. However, note that tarts with delicate, crispy crusts may lose some of their crunch after refrigeration. You can revive the crust slightly by warming it in a low oven before serving.
Tip: If your tart has a particularly creamy filling, avoid storing it for too long as it may lose its texture. However, fruit-based tarts typically keep well for a few days.
Conclusion:
Perfecting tarts and pastries takes time, patience, and practice. But with the right techniques and a few pro tips, you can elevate your baking skills and create beautiful, professional-quality tarts and pastries in your own kitchen. From choosing the right dough to achieving that perfect golden crust and filling, these expert tips will help you bake like a pro.
The key to success in pastry making is focusing on the details—the right dough, proper preparation, and flawless presentation. So don’t be afraid to experiment, and remember: the more you bake, the better you’ll become. Soon enough, you’ll be impressing friends and family with your stunning, delicious tarts and pastries.